
Those little holes in the bottom of our boat
The excitement and stress involved in doing a large project on a boat is always high. The anticipation of being complete is a great feeling. Knowing that all you have to do is that one last thing and you are finally done…except…we are learning that it is never really done.
Just as we were wrapping up the large undertaking of pulling down our mast and replacing all of the standing rigging holding it up, we decided to do another ritual check of things around the boat.
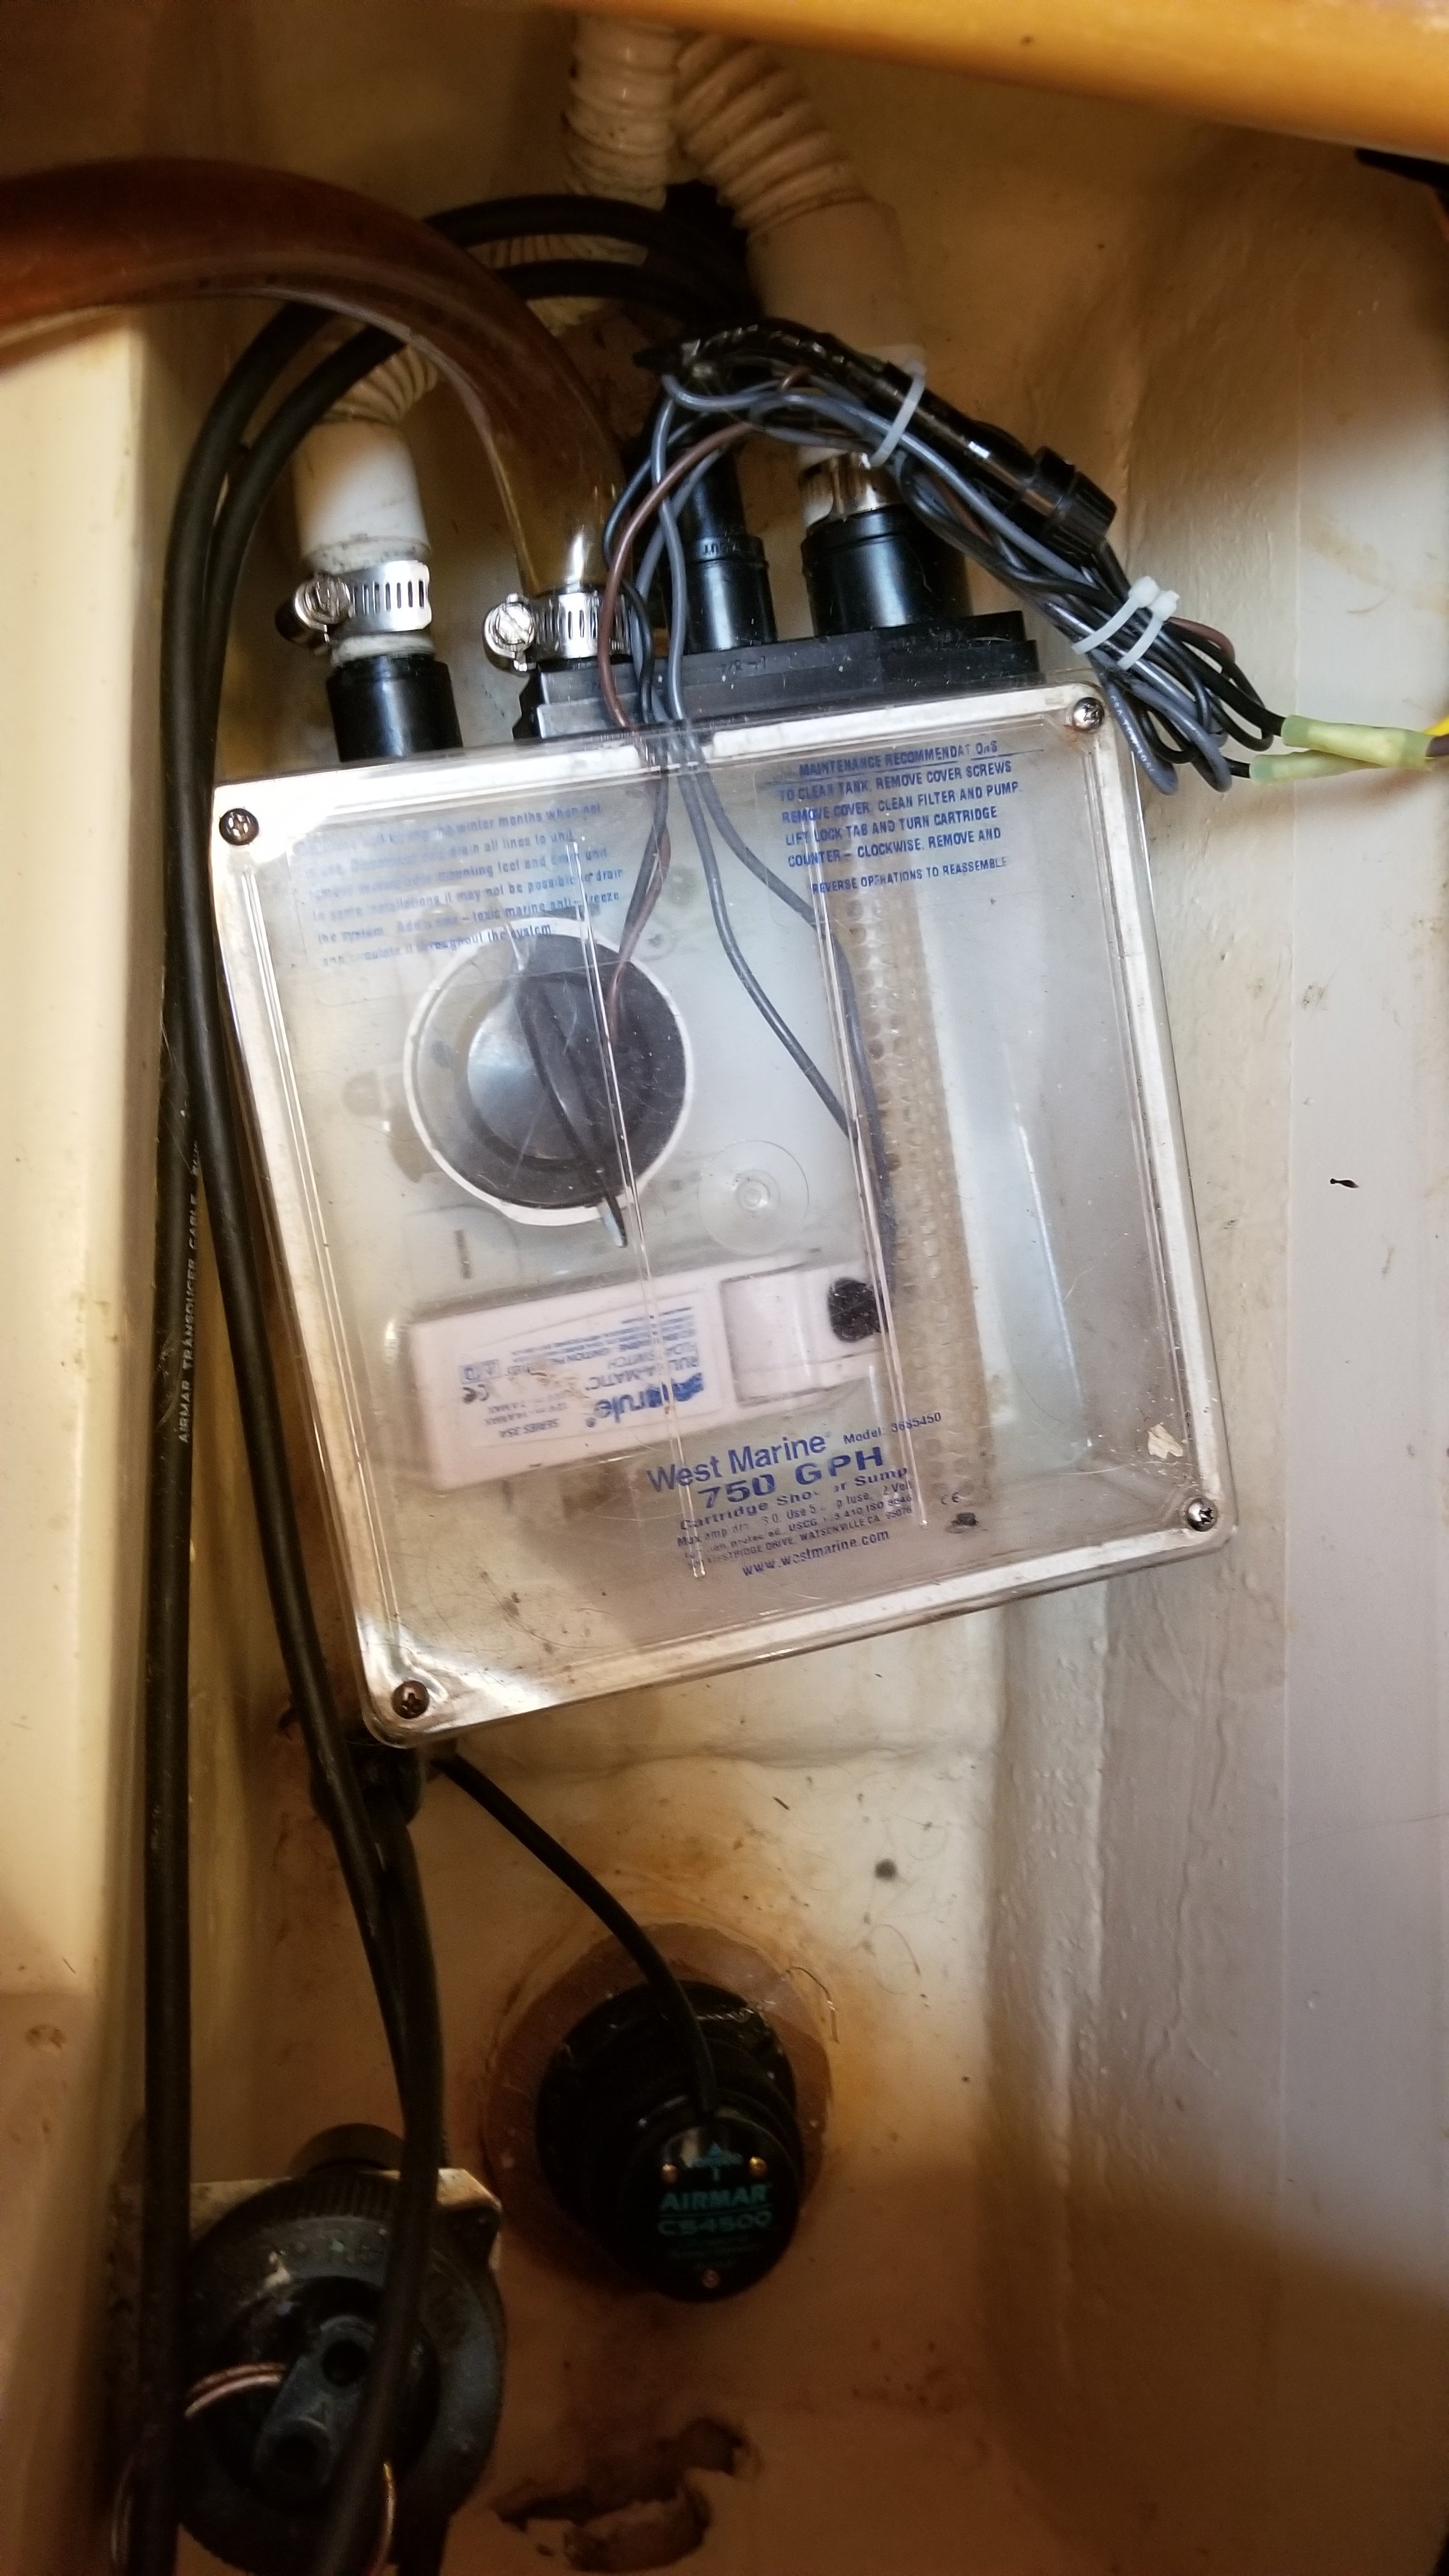
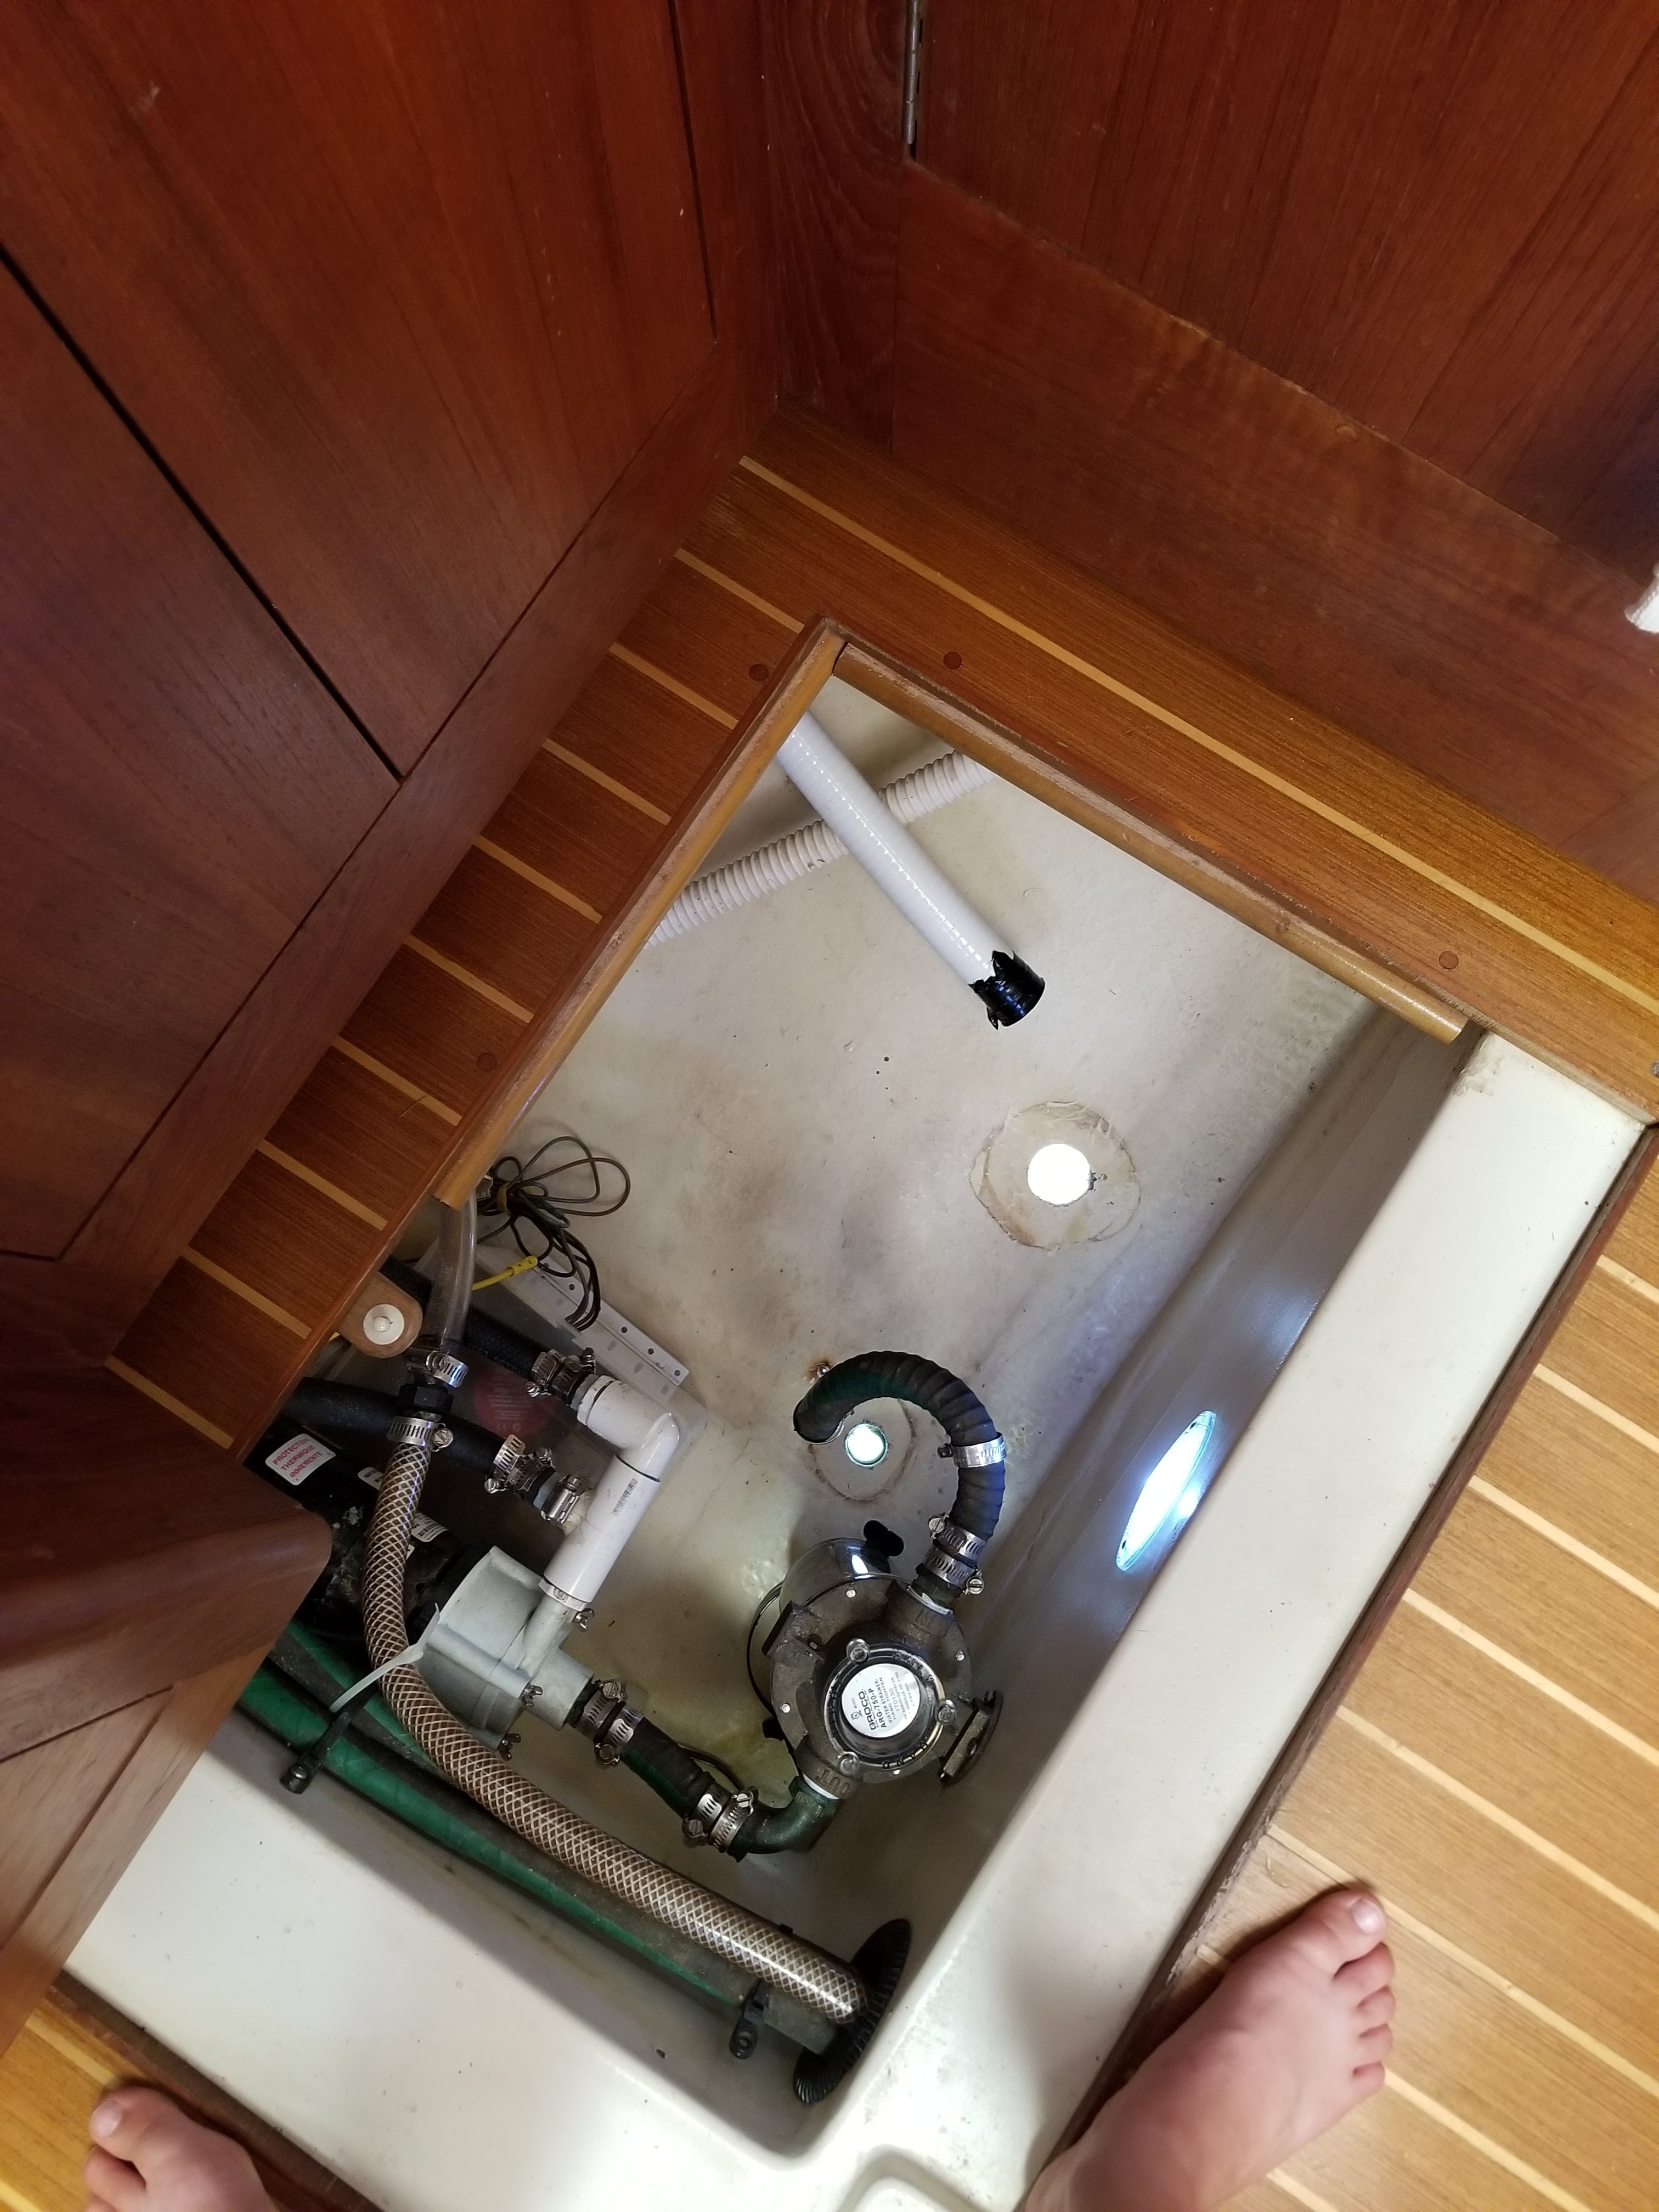
This check is fairly simple and often quick. The first thing we look at is the bottom center of our bilge. Since this is the absolute lowest point in the boat, and under all of the floor boards, it is where all water flows if there is any kind of leak. Checking this area for water will give us some insight into how well we are doing at not sinking.
After checking the bilge at the lowest point, we go through each of our thru-hulls. These are the holes in our boat that are meant to be there. Some are above the water line outside and some are below. Some are used to discharge water out, like the sink drains, and some are for bringing water in, like the air conditioner cooling water.
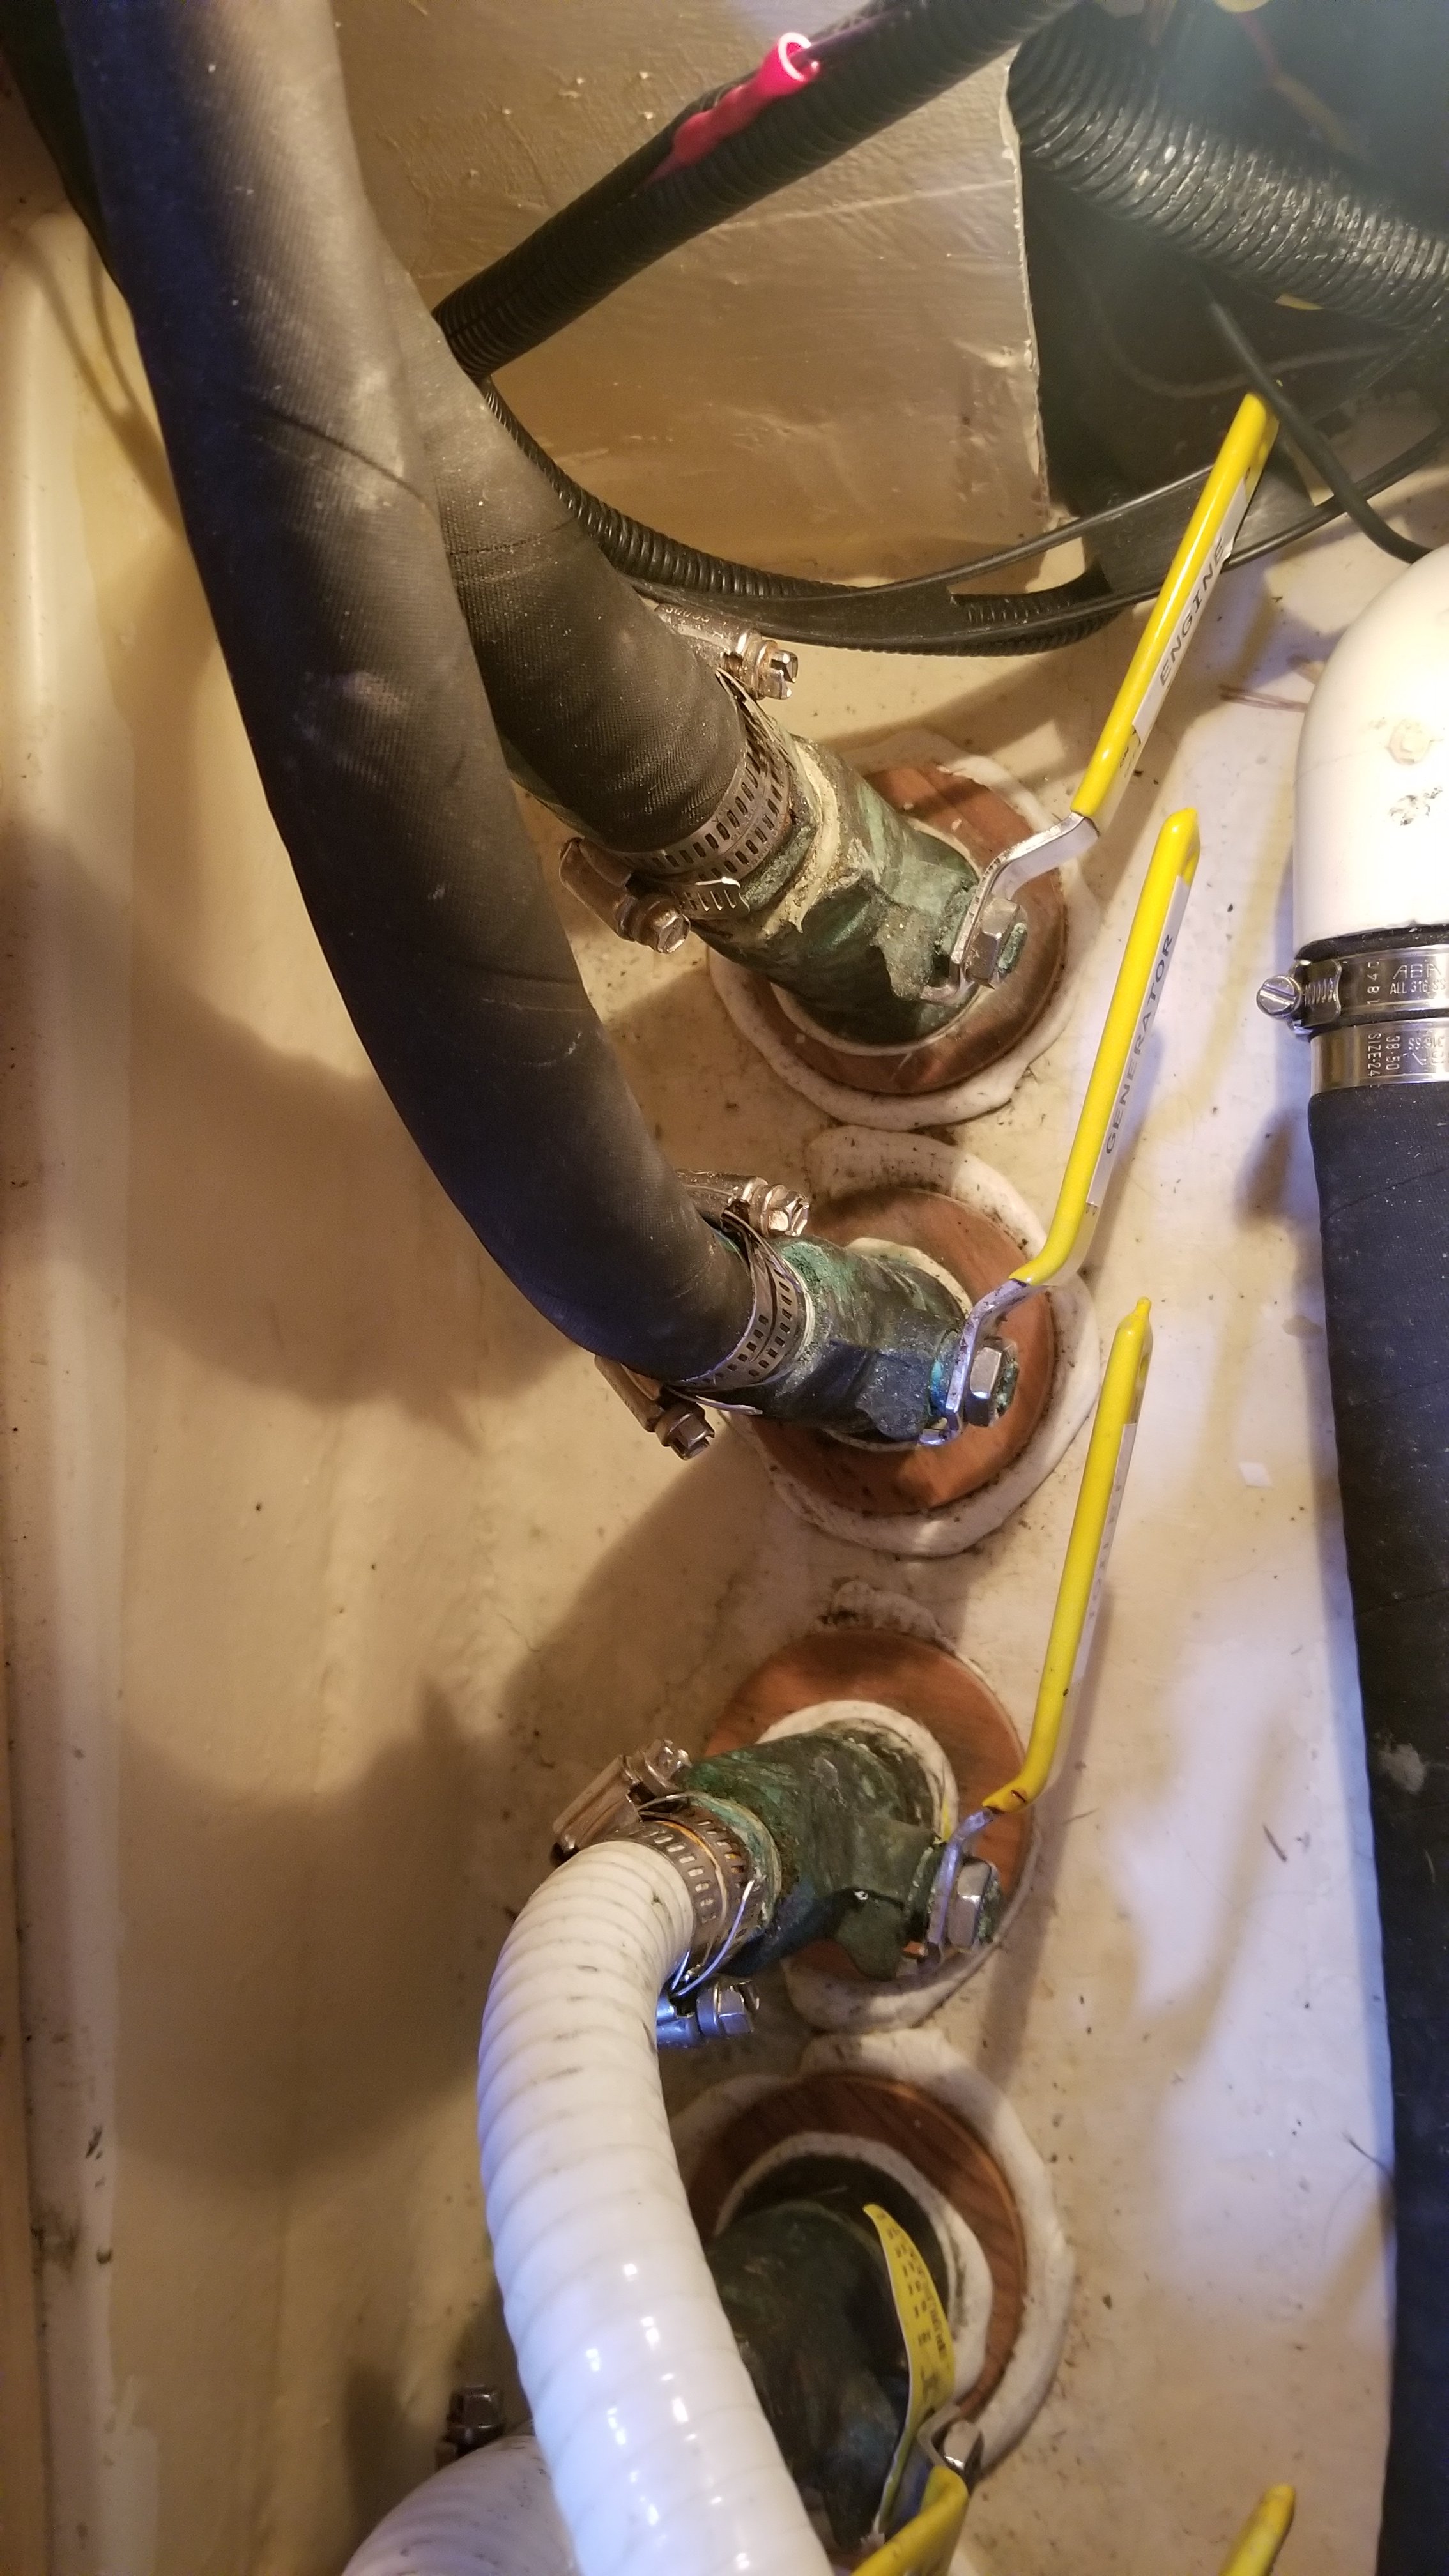
Each thru-hull is first a hole cut into the boat. A bronze or plastic device is placed into the hole and sealed in place. Attached to this bronze or plastic device is a valve often referred to as a sea-cock. The sea-cock typically has a barbed nipple attached to connect a hose. The intention behind all of this is to control how the water comes in or goes out and to avoid leaking.

As with all things boat related, just as we thought we were getting done with big projects like the rigging, our inspection of thru-hulls revealed that one of them was leaking. That meant our boat was sinking! Of course, our boat was sinking very, very slowly but still.
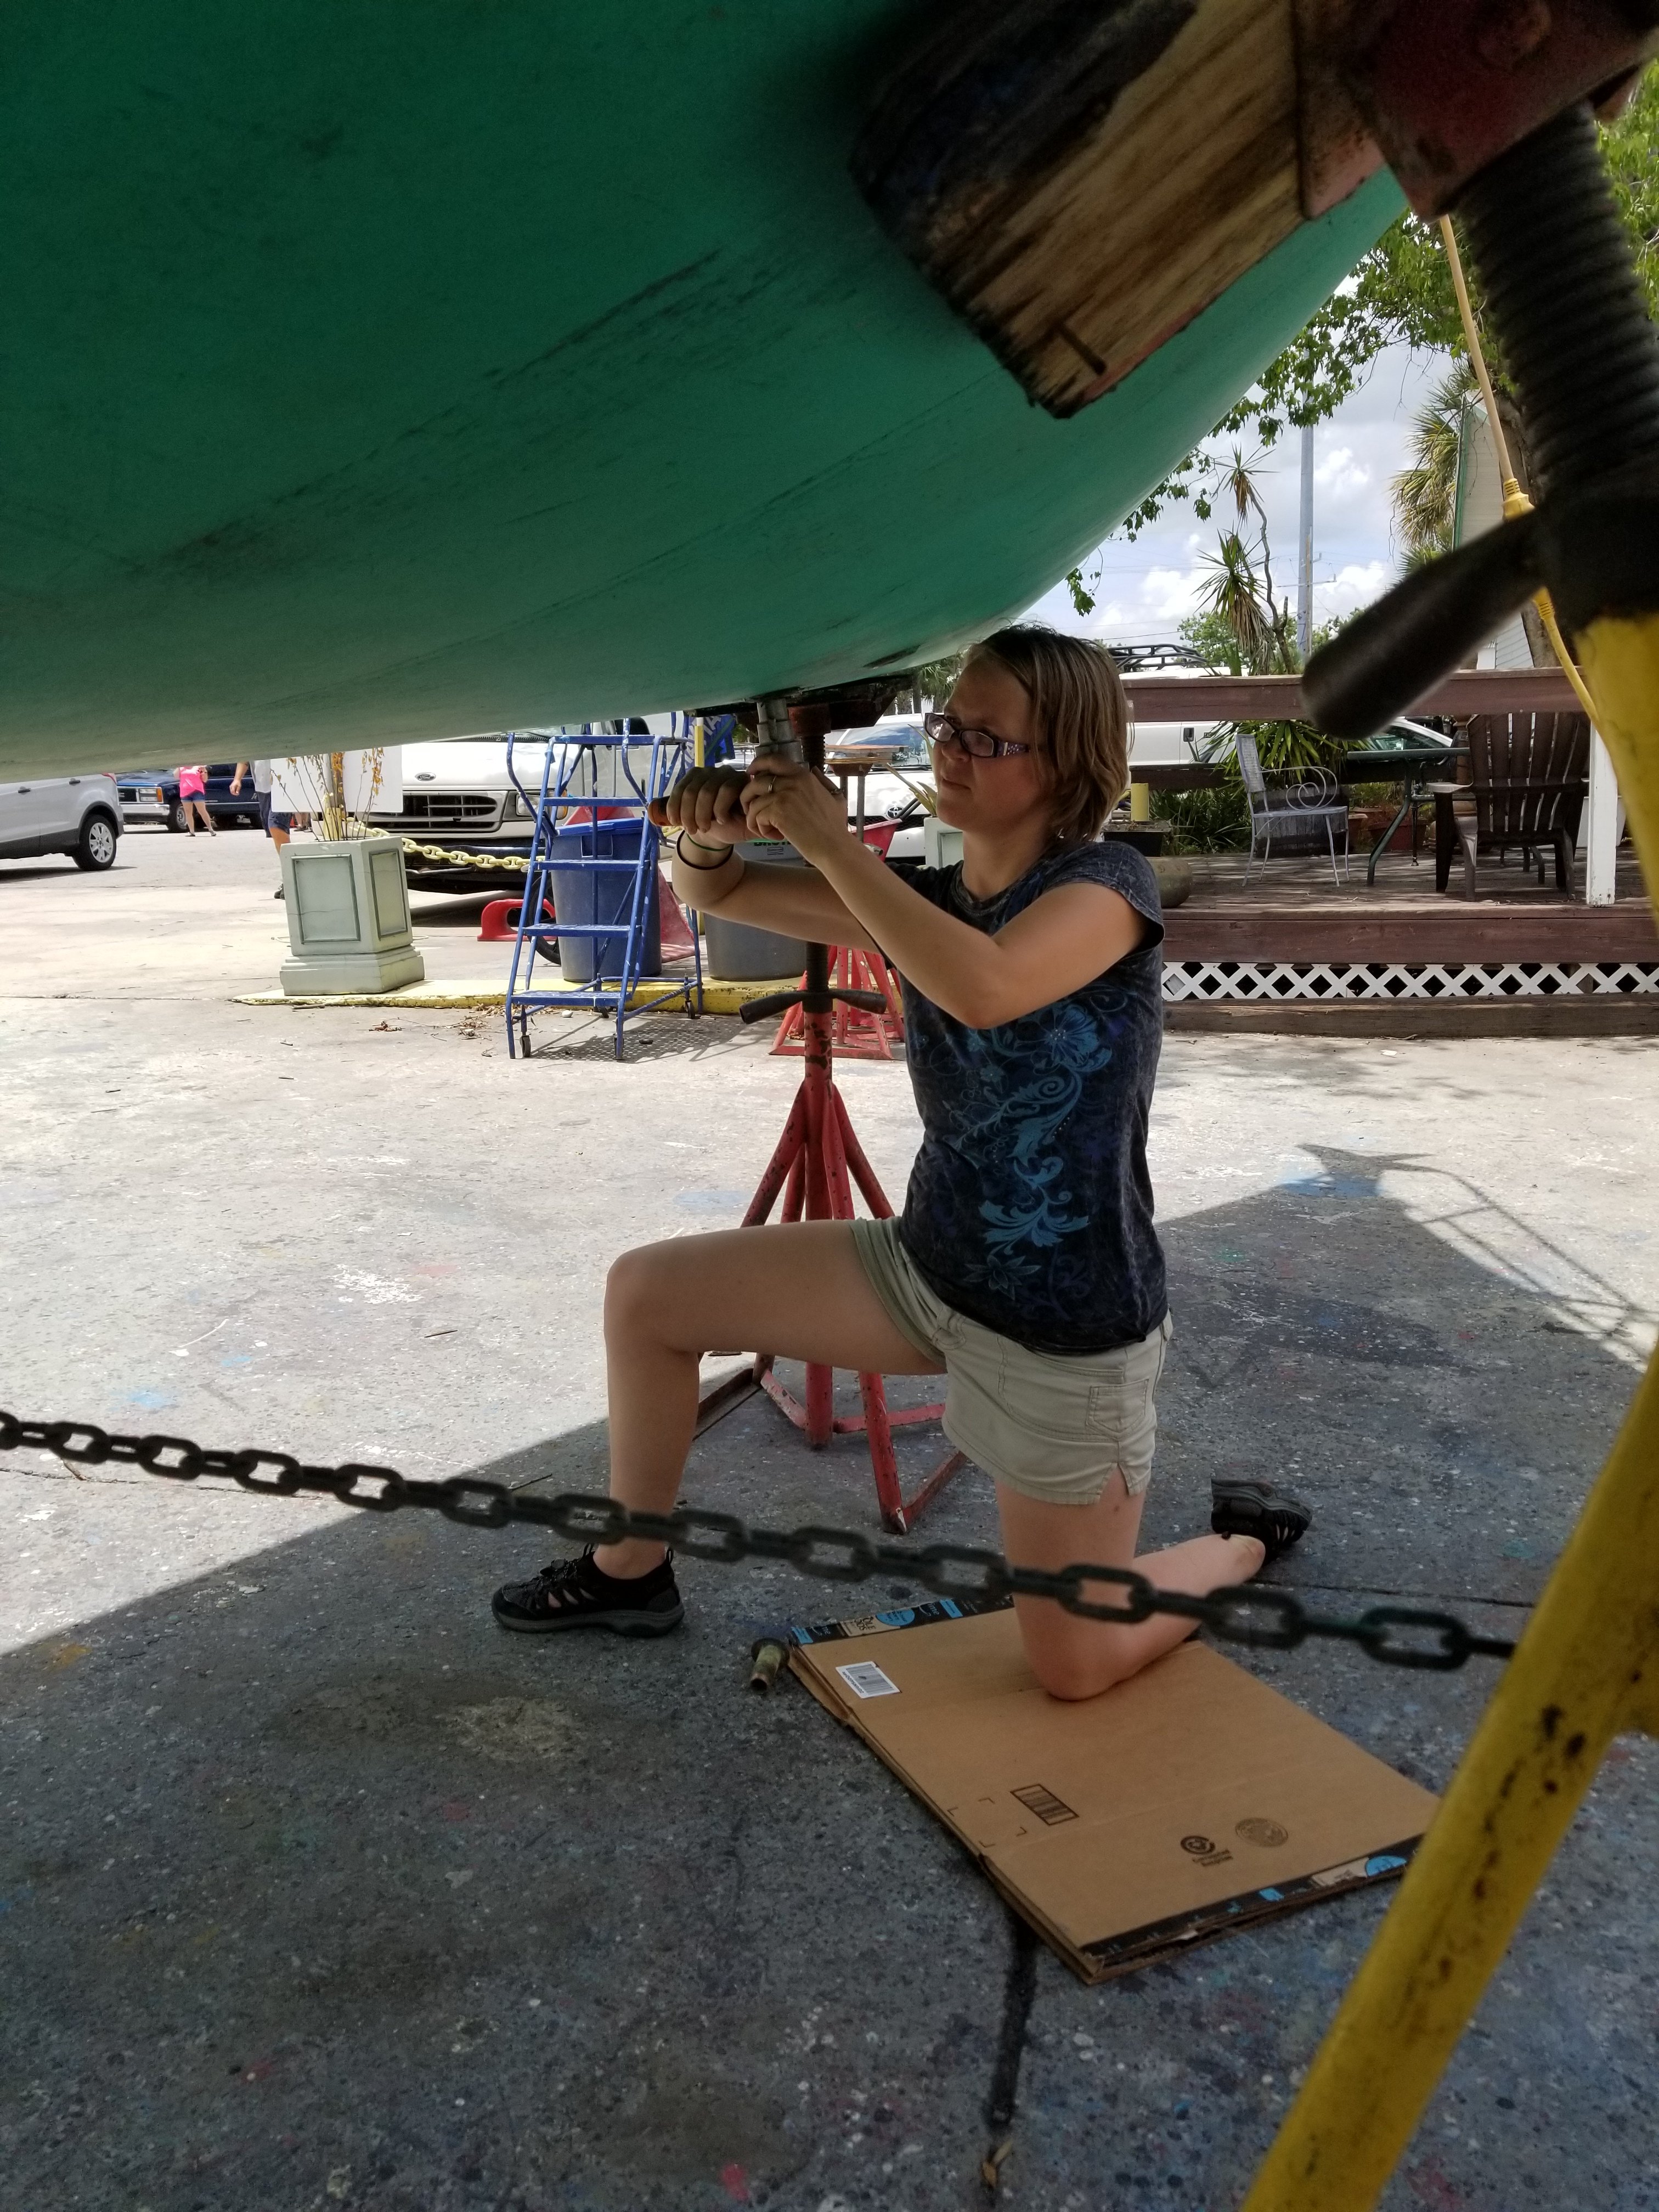
Unfortunately, the only right way to fix a leaking thru-hull is to pick the whole boat up out of the water, remove, and re-bed it. As always, we started researching the best ways to do this project and came to MarineHowTo.com. This site has a wealth of experience based tutorials on boat related work. It is well worth a look if you are learning.


They describe a method of using fiberglass backing plates instead of the wooden ones that Hunter thought was a great *read cheap* idea. These are to be glassed into the boat so they are permanent and fixed. It also suggests that using something like the Groco flange adapter will help to improve the strength of the whole system. We decided this was the way to go and we were going to do the oldest 5 thru-hulls below the waterline. We have 11 total below the waterline but the other 6 had been re-bedded a few years ago by a previous owner.


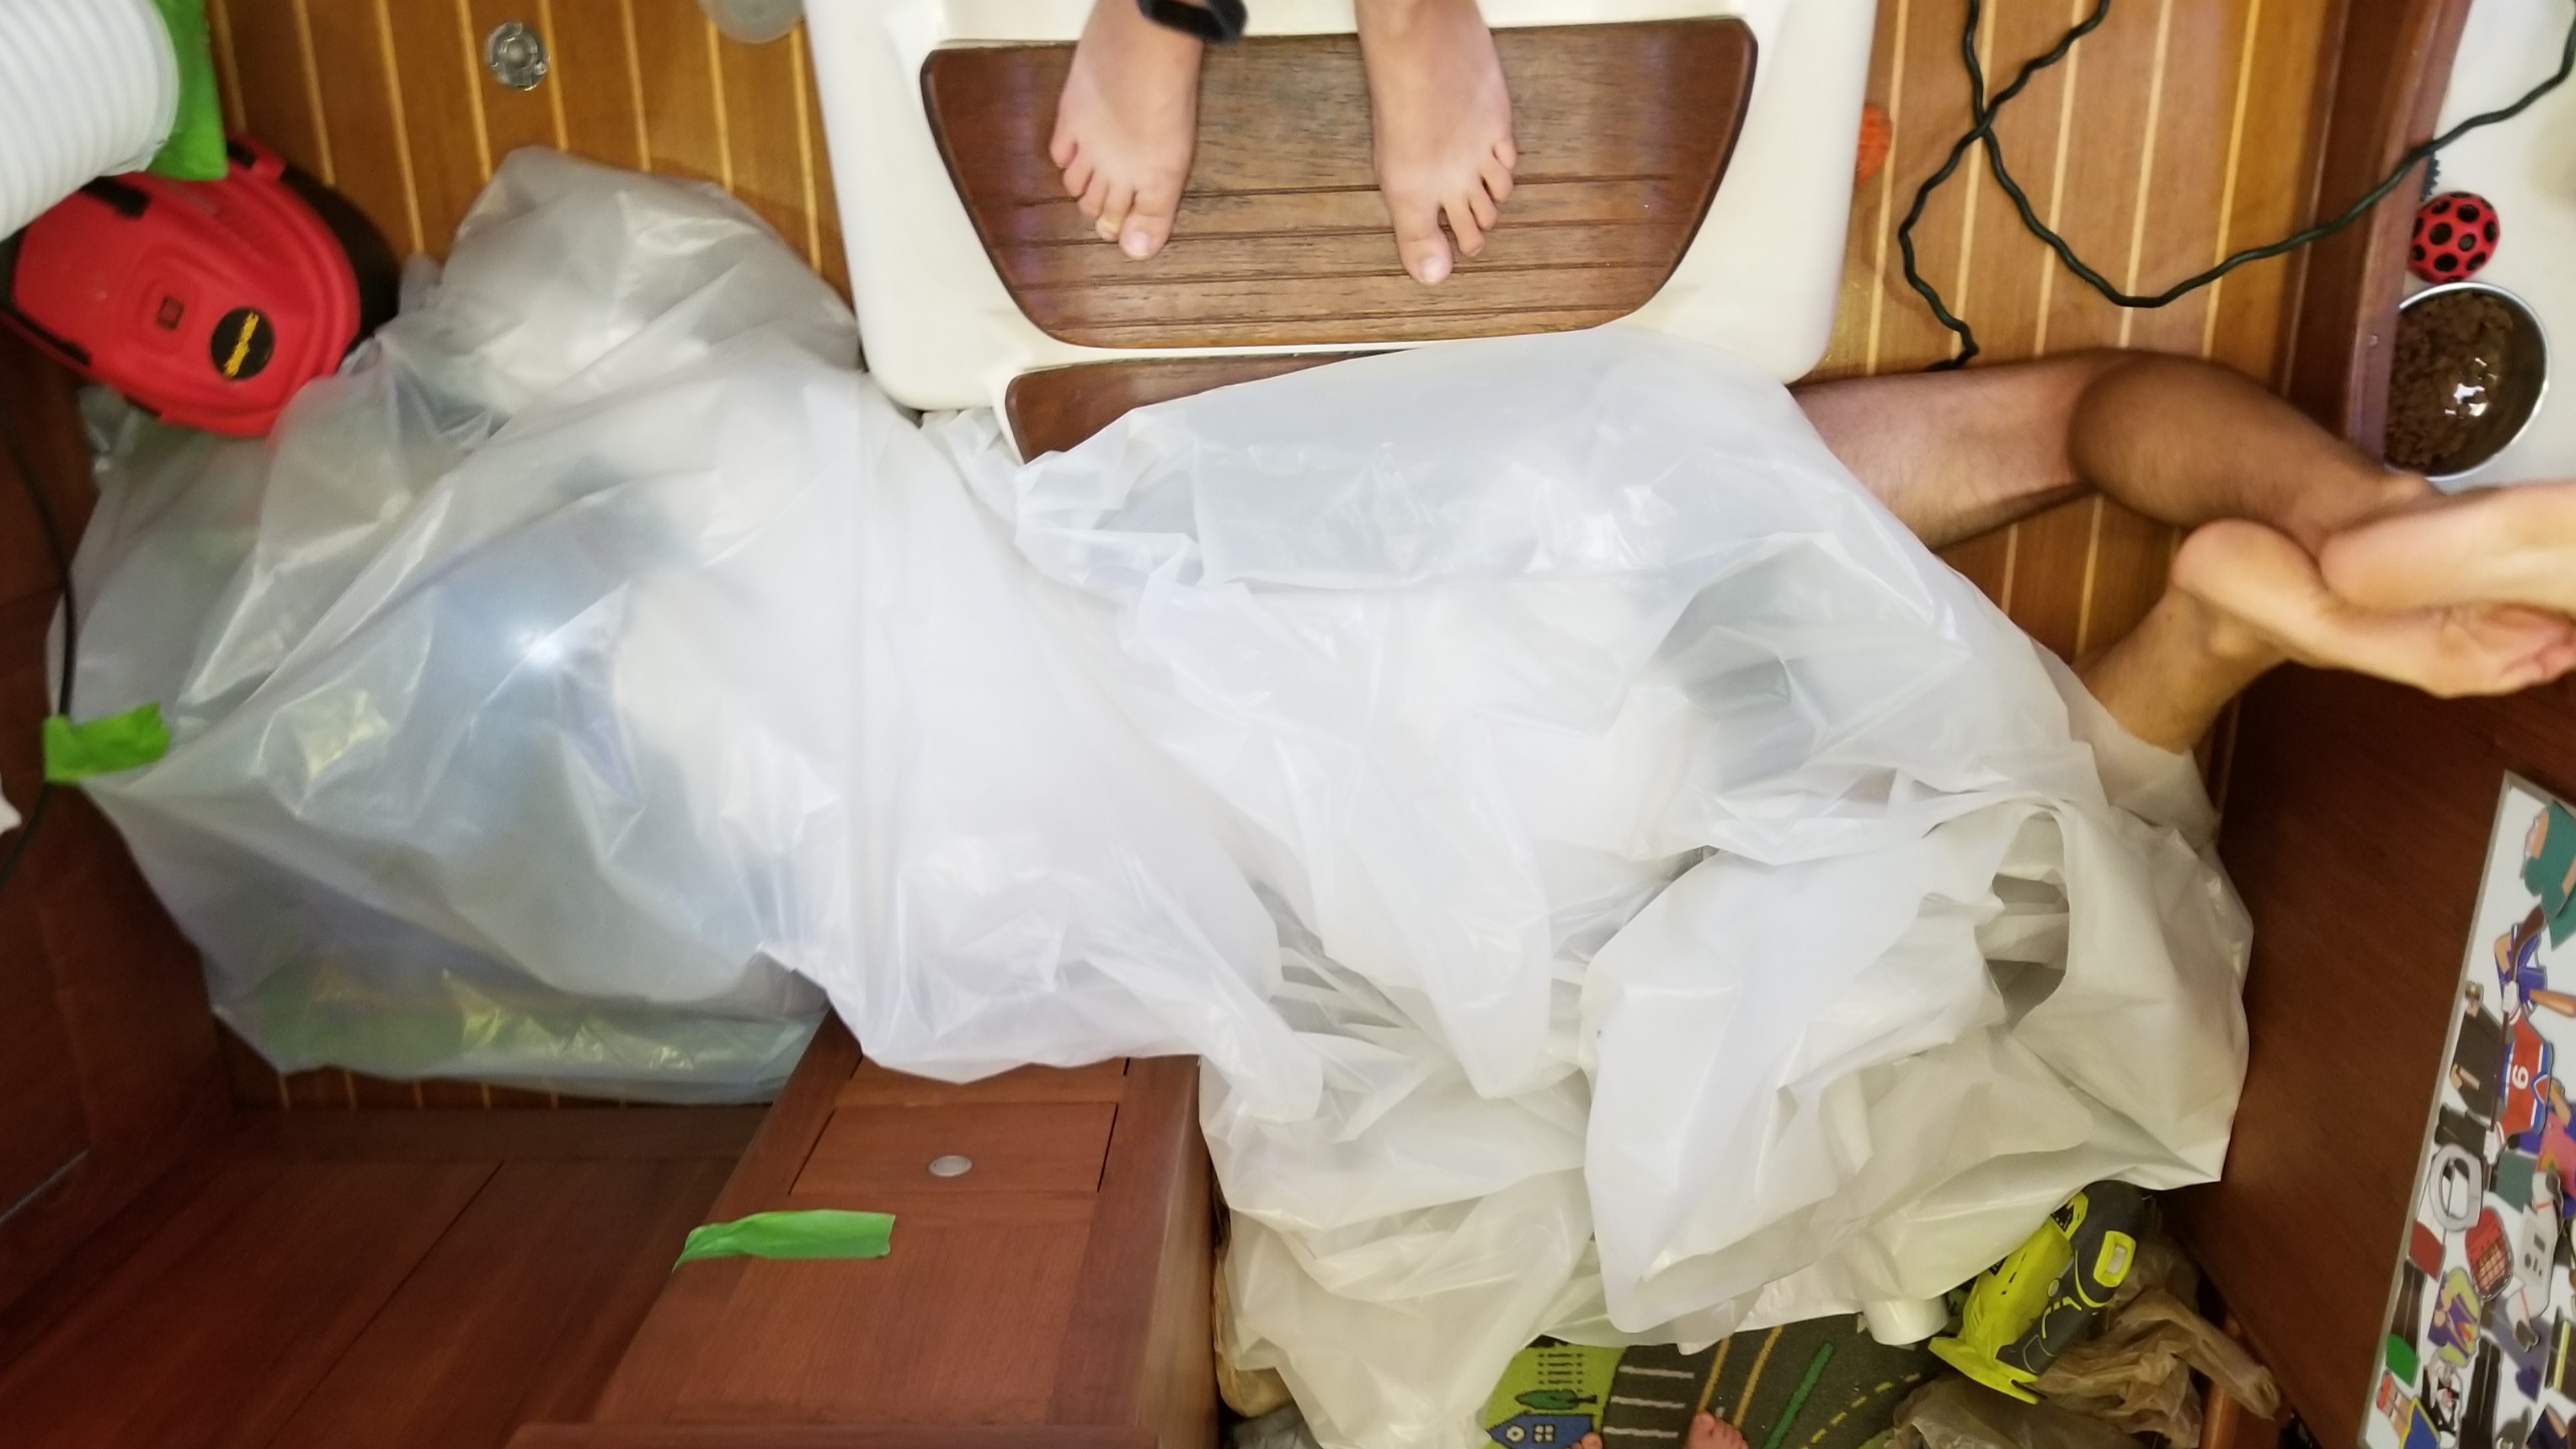
We needed to flatten the inside of the boat so that our new backing plates fit properly and then could be well glassed into the bottom of our boat. When you need to grind the inside of your fiberglass boat and you don’t really want to get fiberglass dust everywhere what do you do? I say make a sanding tent!
After a ton of research, even more elbow grease, and a little bit of guess work, we were able to get them all replaced.
Of course just we we thought we had the hard job completed we realized that the hull had some bumps on it…These bumps are known as osmotic blisters.
These are bubbles that form between the fiberglass of the hull and the gelcoat that is used as a barrier. It turns out that gelcoat isn’t really that great for boats despite being on just about every fiberglass boat I have ever been on.

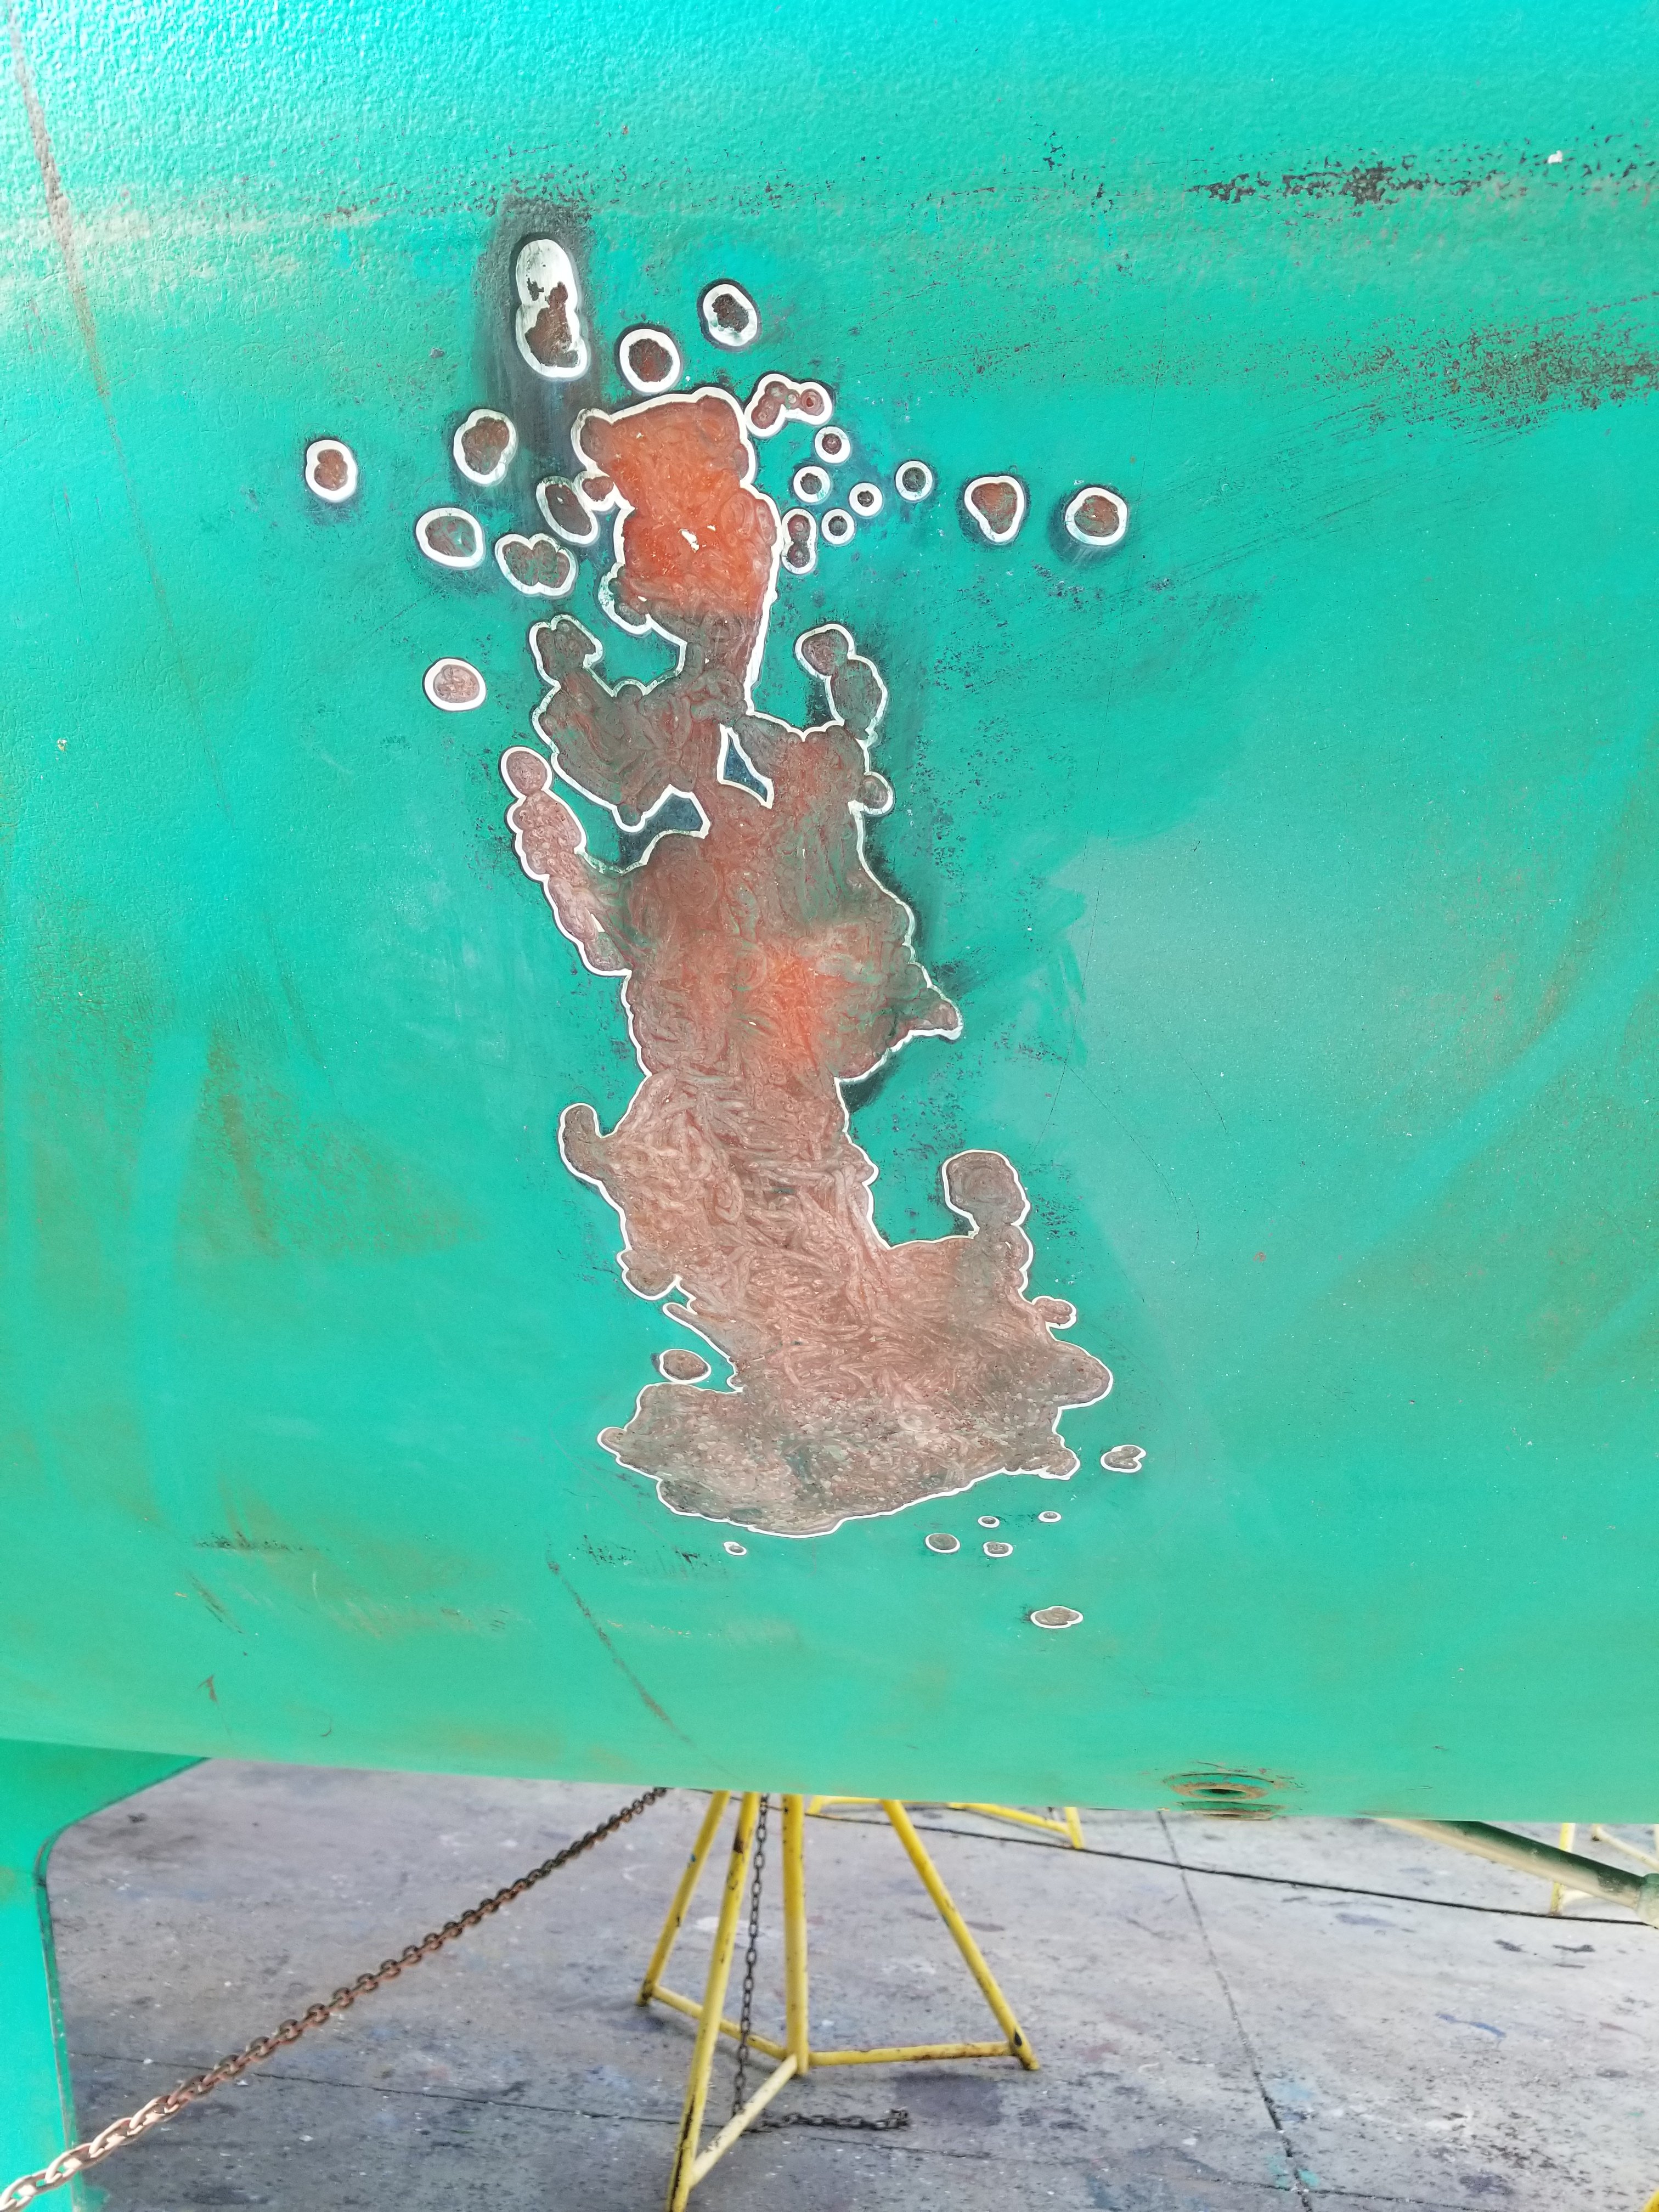
The blisters fill with fluid which slowly converts to a corrosive substance. It then eats away at the fiberglass which rots it. The only solution is to grind all of the bad glass out of the hull. It was a little scary to start grinding on the outside of our hull but once we got started we just kept going until we got all of the water out.
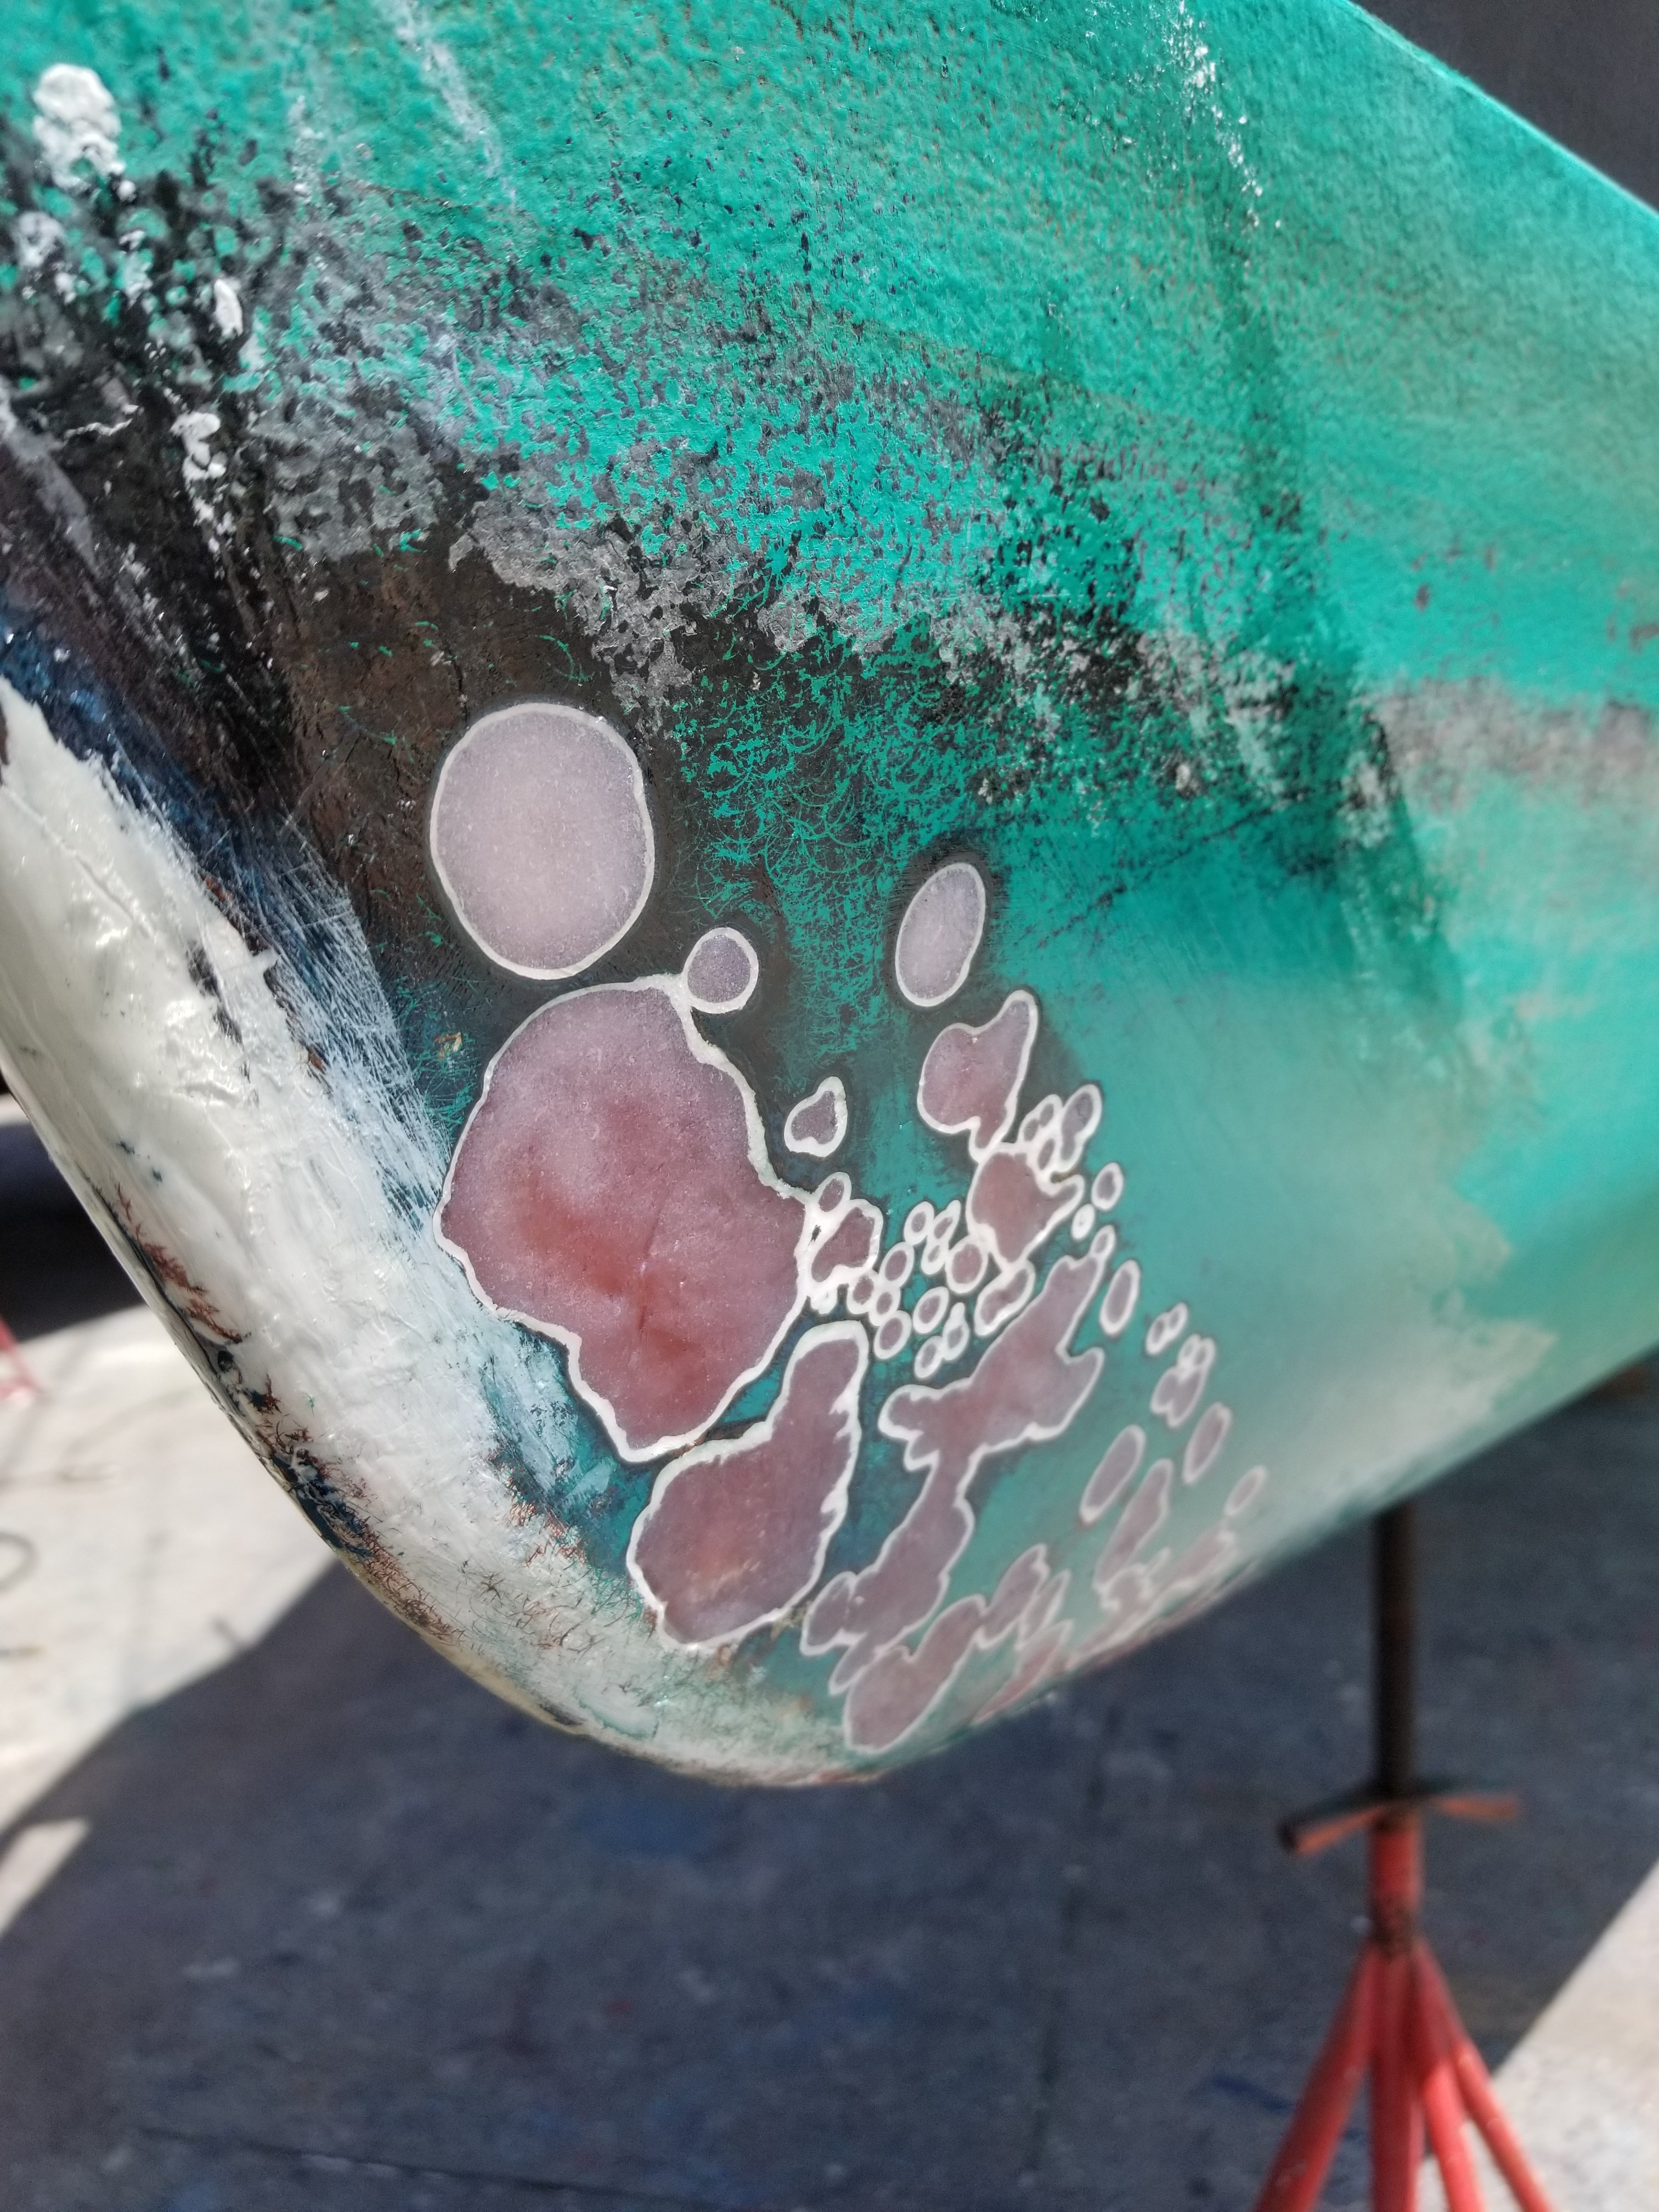
After grinding it all out the next step was to fill the holes with thickened epoxy. We used West Systems 105 Resin, 205 Fast Hardener, and enough 406 Colloidal Silica to make it like a thick peanut butter. This mixture had to be pushed into the holes then smoothed out to make a nice finish. Once we had the finish shape we wanted we were able to paint over the patches to make a finished look.