
All things aloft…
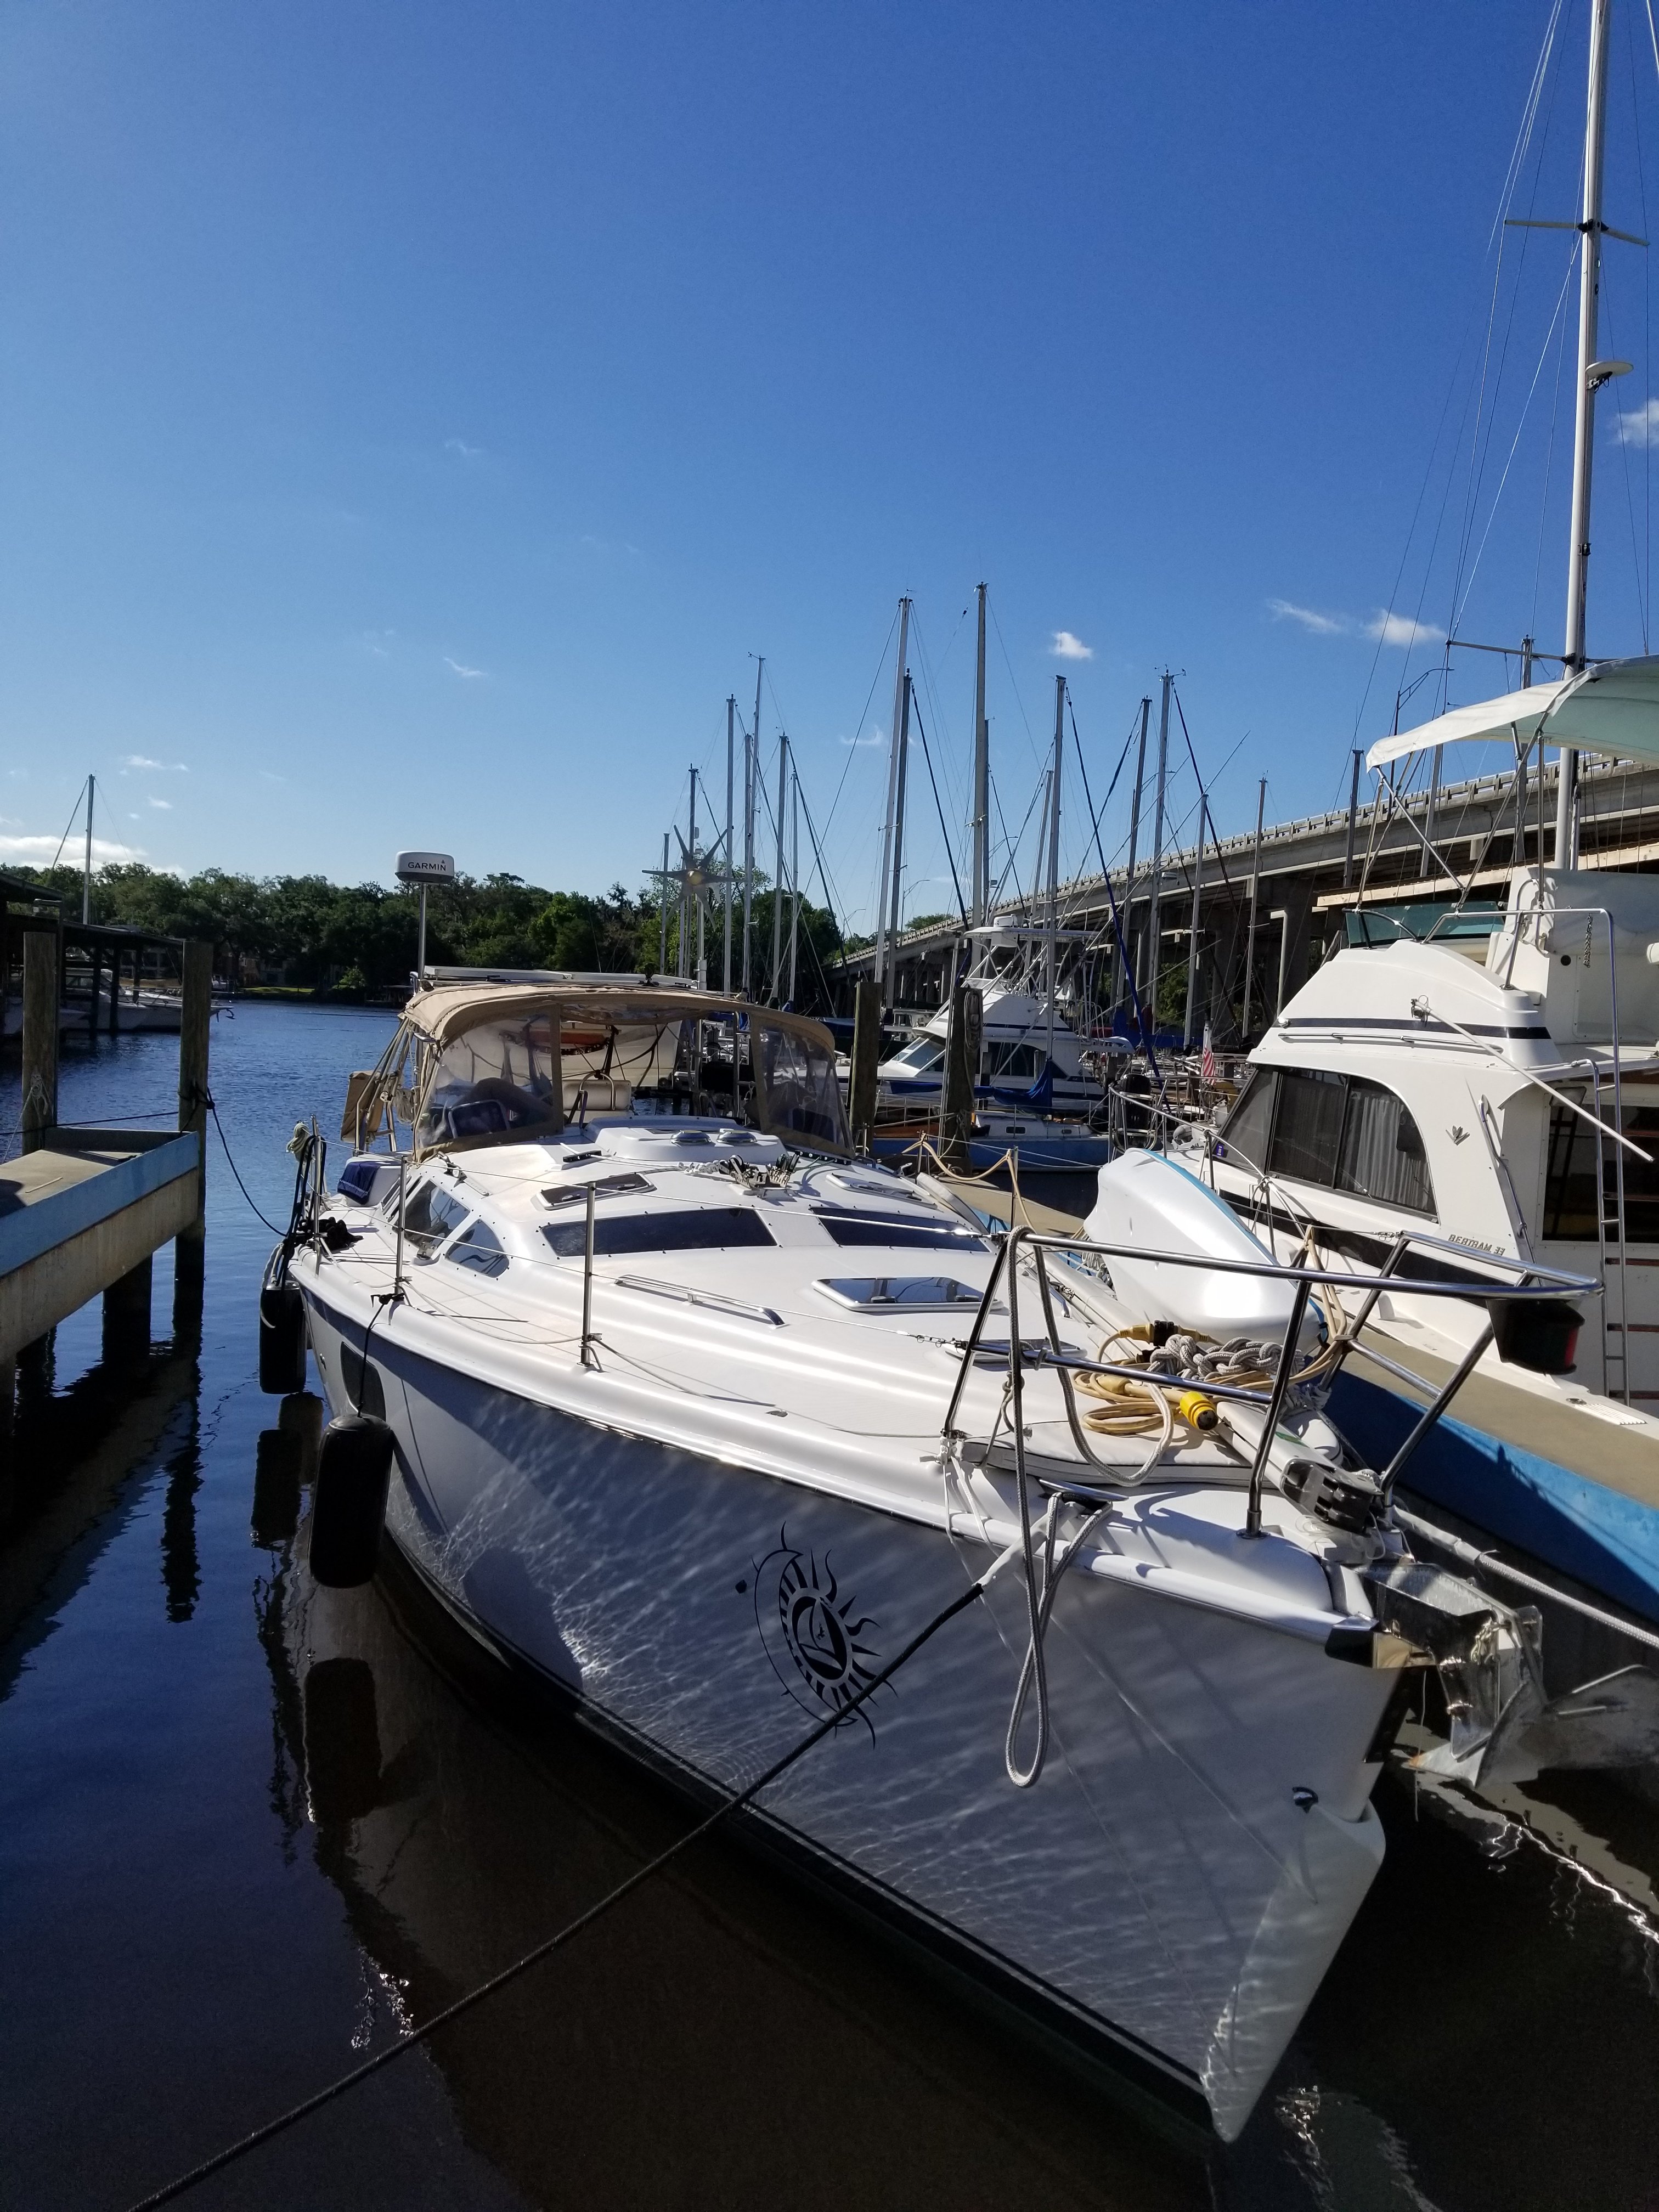
When we surveyed Rána we found out that she would need new standing rigging sooner rather than later. After doing some further digging we realized she was still on her original rigging which meant it was 17 years old.
We had to learn a lot about standing rigging and how it all worked. The standing rigging is the wire and other components that hold the mast up. Our boat is a Bergström-Ridder or more commonly known as a B&R rig. This is a unique design that was adopted by Hunter several years ago. It was originally viewed as a poor choice but lately has gained a lot of regard since it appears to work as well as they said it would without much issue. It is now being incorporated into other manufactures designs in some fashion or another.
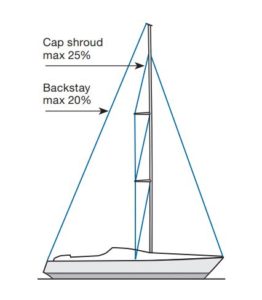
Standard Fractional Rig
The B&R rig is a lot like any other rig however it lacks a backstay. For reference, you can see in the picture that the stand style of rig has a forestay coming from the front of the mast to the bow of the boat, a backstay coming from the back of the mast to the stern of the boat, and two side stays that go from either side of the top of the mast down to the chain plates on the sides of the boat. The B&R rig does away with the backstay by making a tripod out of the forestay and side stays. The side stays are held back at an angle by the spreaders. This keeps all three stays at 120 degrees from each other.
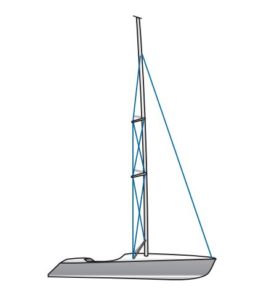
B&R Rig
Since the rig is setup this way it is very stable and does not require any adjustment while sailing. It is sort of a “set it and forget it” design only requiring the occasional inspection for problems. This has its ups and downs but for us we felt like it would be best to have the simplest setup we can.
We did some research into rigging age and realized that as a general rule, rigging should only be used for around 10 years and that is when it’s been used in the best conditions. We spoke to a lot of different sailors and it seems there is a lot of opinions about this. We heard everything from “20 years is fine” to “5 years is the very end.”
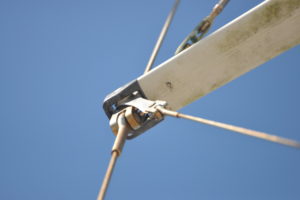
After doing even more research we decided that the only real answer was to scale the mast and fully inspect everything. Various websites give ideas on how to inspect your rigging but none seemed to really lay it all out there. In the end the most important thing we found to look for is cracking from corrosion or stress as well as rust staining. The rust staining is an indicator of a large problem since all of the standing rigging is made of 316 Stainless Steel. It takes a lot to make this stuff rust but the salty harsh ocean environment is just the right mix of corrosive.
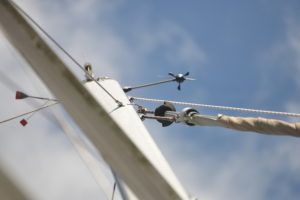
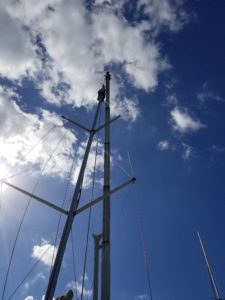
We started the process by taking zoomed in images with our DSLR camera and zoom lens. That got us part of the way there but really didn’t show enough detail from the ground. The next step was to climb up the mast and look as closely as possible. We had read that taking high resolution images was a great way to inspect. This turned out to be a very good idea since the bright sun and the movement of the boat made it very difficult to get a good view. Using the images, we could zoom in and really see if there were issues.
Immediately we noticed rust staining at just about every joint in the system. We also found several very small stress cracks. As it turns out, stainless steel apparently corrodes from the inside out. This means that if you can see corrosion, it is likely much worse on the inside of the steel. After looking everything over we decided the best bet was to just replace it all.
We contacted a few local riggers to quote doing the full replacement for us. Turns out that is surprisingly expensive. We were given verbal quotes of between $10k and $15k. We let that sticker shock sink in a bit which led me to research doing it myself. I found a few sites with information on how to do it and all in all it seemed doable. We decided that we would pay a shop to make our new rigging and ship it to us then we would put it on.
We took a great deal of measurements and took a lot of pictures to get the quoting process started. We knew that we would have to pull the whole mast off the boat to get the final dimensions but we needed to get a basic idea first. We contacted several companies that could do the work and found that Sailing Services in Miami FL had the best prices as well as the best information and recommendations from others.
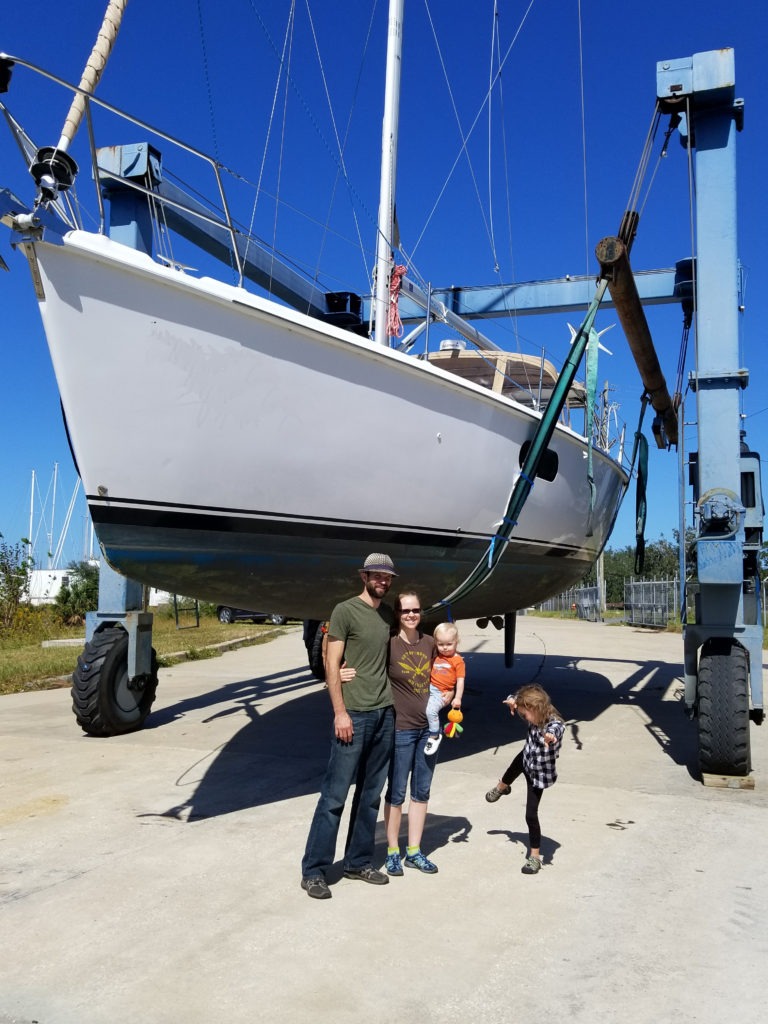
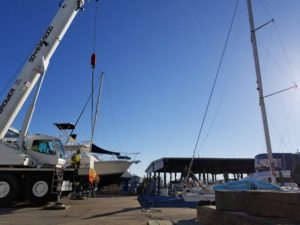
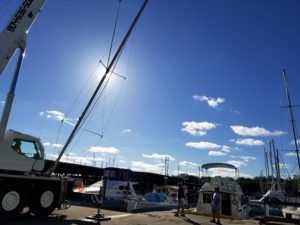
Finally, the day came to pull the mast down and get all of the old wiring off the boat. Since our mast is 50’ long above the deck of the boat and it is a rather large piece of aluminum extrusion, this required hiring a crane and operator to meet us at a nearby marina. The crane was strapped to the mast then we started removing all of the connection. Once down we were able to take off and label each wire so we could measure and prepare them for replacement.
We took our final measurements and wrapped up half of the wiring to send off the Sailing Services. Once they received everything they went to work getting it replaced. Our new rigging arrived in a little more than a week. It was much nicer and cleaner than the old stuff.
While we waited for the new rigging we did some work on the mast. This was the best time to take apart the in-mast furling gear (this allows our mainsail to be stored inside the mast) and grease it. Since the mast was down it was also the best time to replace the wiring inside it as well as the lights on it. We also did an inspection on the entire mast and re-bedded the mast step and chain plates…more on that fiasco in another post.

We spent another few days preparing the new rigging by setting everything to the old measurements. Several of the wires have turn buckles on them so that they can be adjusted to the correct tension. Since we knew the lengths for the old wire we configured the new wiring to match so we would be ready.
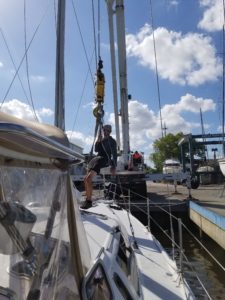
After a lot of hard work and anticipation finally the day to put our sailboat back together came. We prepared the mast to go back up and brought the boat over. Putting it up went fairly quickly which was sort of surprising. We didn’t spend a lot of time tuning the rig which could be done late so it was really just all about getting it back on the boat.
Once it was attached someone had to go up the mast again to remove the crane strap and connect the wind instrument. I quickly volunteered to rid the “sky hook.” I got strapped in and the crane operator lifted me all the way to the top of the mast.
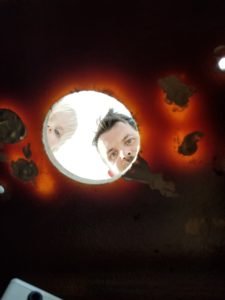
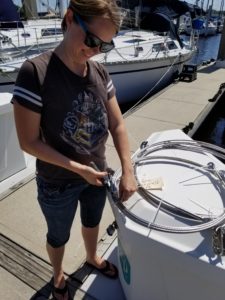
After getting the boat all back together and into sailing shape we decided it was a good idea to do an underwater inspection. This is where we look through the boat at all of the underwater things (from the inside of the boat) for leaks. Surprise….a leak…